Framing Squares & Layout Tools
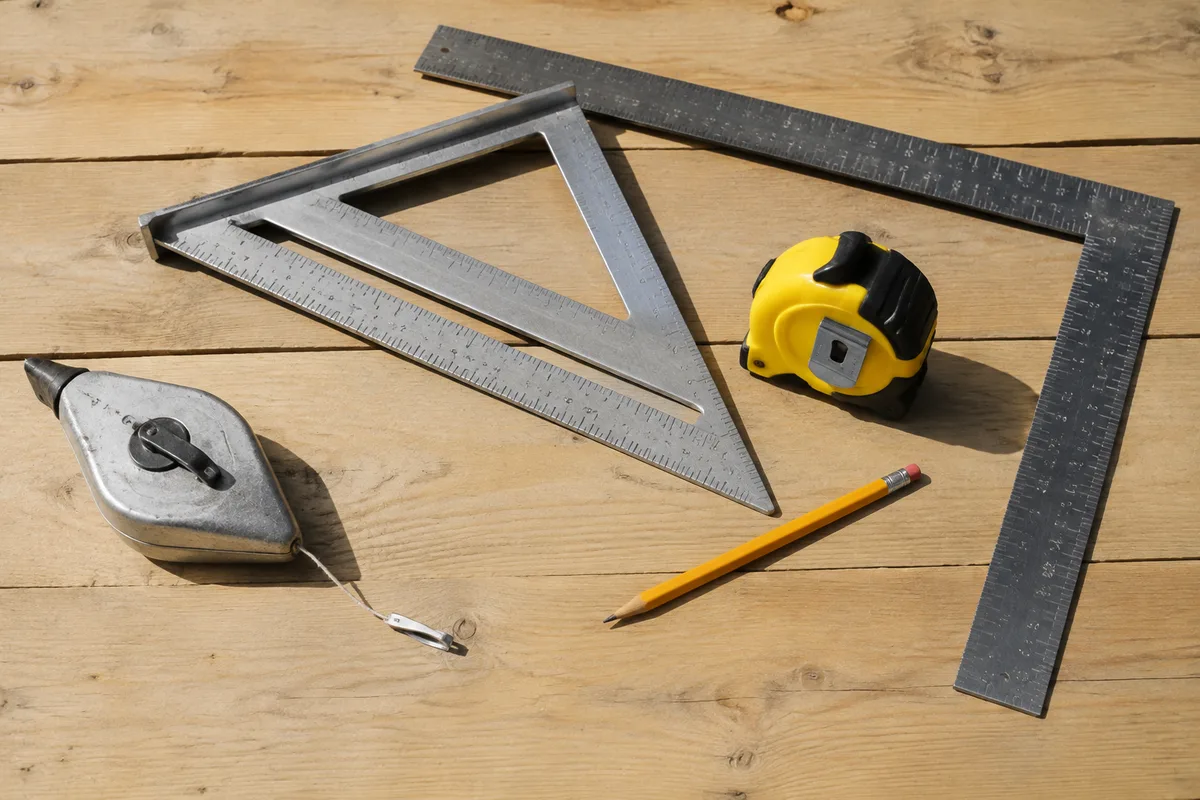
Framing Squares & Layout Tools
Framing squares, speed squares, and the layout tools that go with them are some of the simplest equipment on any roofing job — and some of the most important. Before a single rafter is cut, a sheet of decking is nailed down, or a structural repair is closed up, someone has to mark straight lines, true angles, and consistent spacing. That is what these tools are for.
What framing Squares & Layout Tools is
A framing square is a flat, right-angled tool marked with scales for common rafter cuts, pitch angles, and spacing layout. Speed squares and combination squares serve similar purposes on smaller cuts and quick checks. Used together with chalk lines and levels, they let a carpenter or roofer mark a board once, cut it once, and have it fit — instead of guessing, cutting, and trimming again.
These tools have not changed much in principle for a long time, because the geometry of a roof has not changed. A rafter still needs the correct angle at the ridge and the correct seat cut at the wall plate. Decking still needs to land square on the framing below it. What has improved is the pairing of these hand tools with laser measuring and leveling equipment, which speeds up the layout step without changing the accuracy a square provides at the actual cut.
How we use it at SoffitSmith by Smithbuilt Roofing
On structural and framing-related work, framing squares and layout tools are the starting point for accurate rafter, decking, and repair layout — marking angles and spacing correctly before any cutting or fastening begins. This groundwork carries directly into work like sagging roof and structural repair, roof deck rot repair, and fascia and soffit replacement, where new lumber has to match the existing framing exactly.
Layout work does not happen in isolation. Once lines are marked, laser distance meters, levels, and chalk lines are used to extend and check those lines across a wider section of roof, so pitch and course spacing stay consistent from one end of a slope to the other. Cutting and fastening then follow with circular saws, reciprocating saws, cordless impact drivers, and framing nailers, guided by the marks the squares laid down. Where old fasteners need to come out cleanly before new framing goes in, pry bars and nail pullers do that work without damaging the surrounding wood.
What it means for you
Accurate layout is not something most homeowners see directly, but it shows up in the finished result. Rafters cut to the correct angle sit properly and carry load the way they were designed to. Decking that lands square on the framing gives roofing crews a solid, even surface to work from. Structural repairs that are laid out carefully match the existing roofline instead of creating a visible dip or high spot.
Careful layout also tends to mean fewer surprises mid-job. When rafters, decking, and repair sections are marked correctly the first time, there is less re-cutting, less wasted material, and less time spent correcting mistakes later — which is generally easier on both the schedule and the property.
What to expect during your visit
On a job that involves framing or structural work, layout typically happens early, right after any damaged or old material has been removed and the crew can see the framing underneath clearly. You may notice chalk lines being snapped across the deck or framing members, and squares being checked against cut ends before anything is fastened permanently.
How long this step takes depends on the scope of the repair — a small section of rotted decking is a matter of minutes, while a larger structural repair or new framing section takes longer to mark out correctly. Homeowners do not need to do anything to prepare for this part of the visit beyond the general steps already taken for the roofing work itself, such as clearing vehicles or outdoor items from the work area if asked.
Frequently asked questions
Is layout work disruptive to the rest of my home?
Layout itself is quiet, hand-tool work and is not disruptive on its own. Any noise or activity comes from the cutting and fastening steps that follow, which are handled with the same care as the rest of the roofing work.
How long does the layout step take?
It depends on the size of the repair or framing section involved. A single rotted rafter or a small deck patch is quick to mark out, while a larger structural repair takes more time to lay out correctly before any cutting begins.
Is this used on every roofing job?
Framing squares and layout tools come into play specifically on work that involves rafters, decking, or structural repairs — not on jobs limited to surface-level repairs or coatings. If your project involves any of that structural work, expect this step to be part of it.
Do I need to prepare anything before this work happens?
No special preparation is needed. If access to the work area is required, such as clearing items from a driveway or yard, the crew will let you know ahead of time as part of the normal visit preparation.
If your roof needs structural or framing repair work done carefully and to spec, get in touch with SoffitSmith by Smithbuilt Roofing to ask about how we approach layout on your project.